cascoda-sdk-pages
Getting Started with the Cascoda Thread Development Board
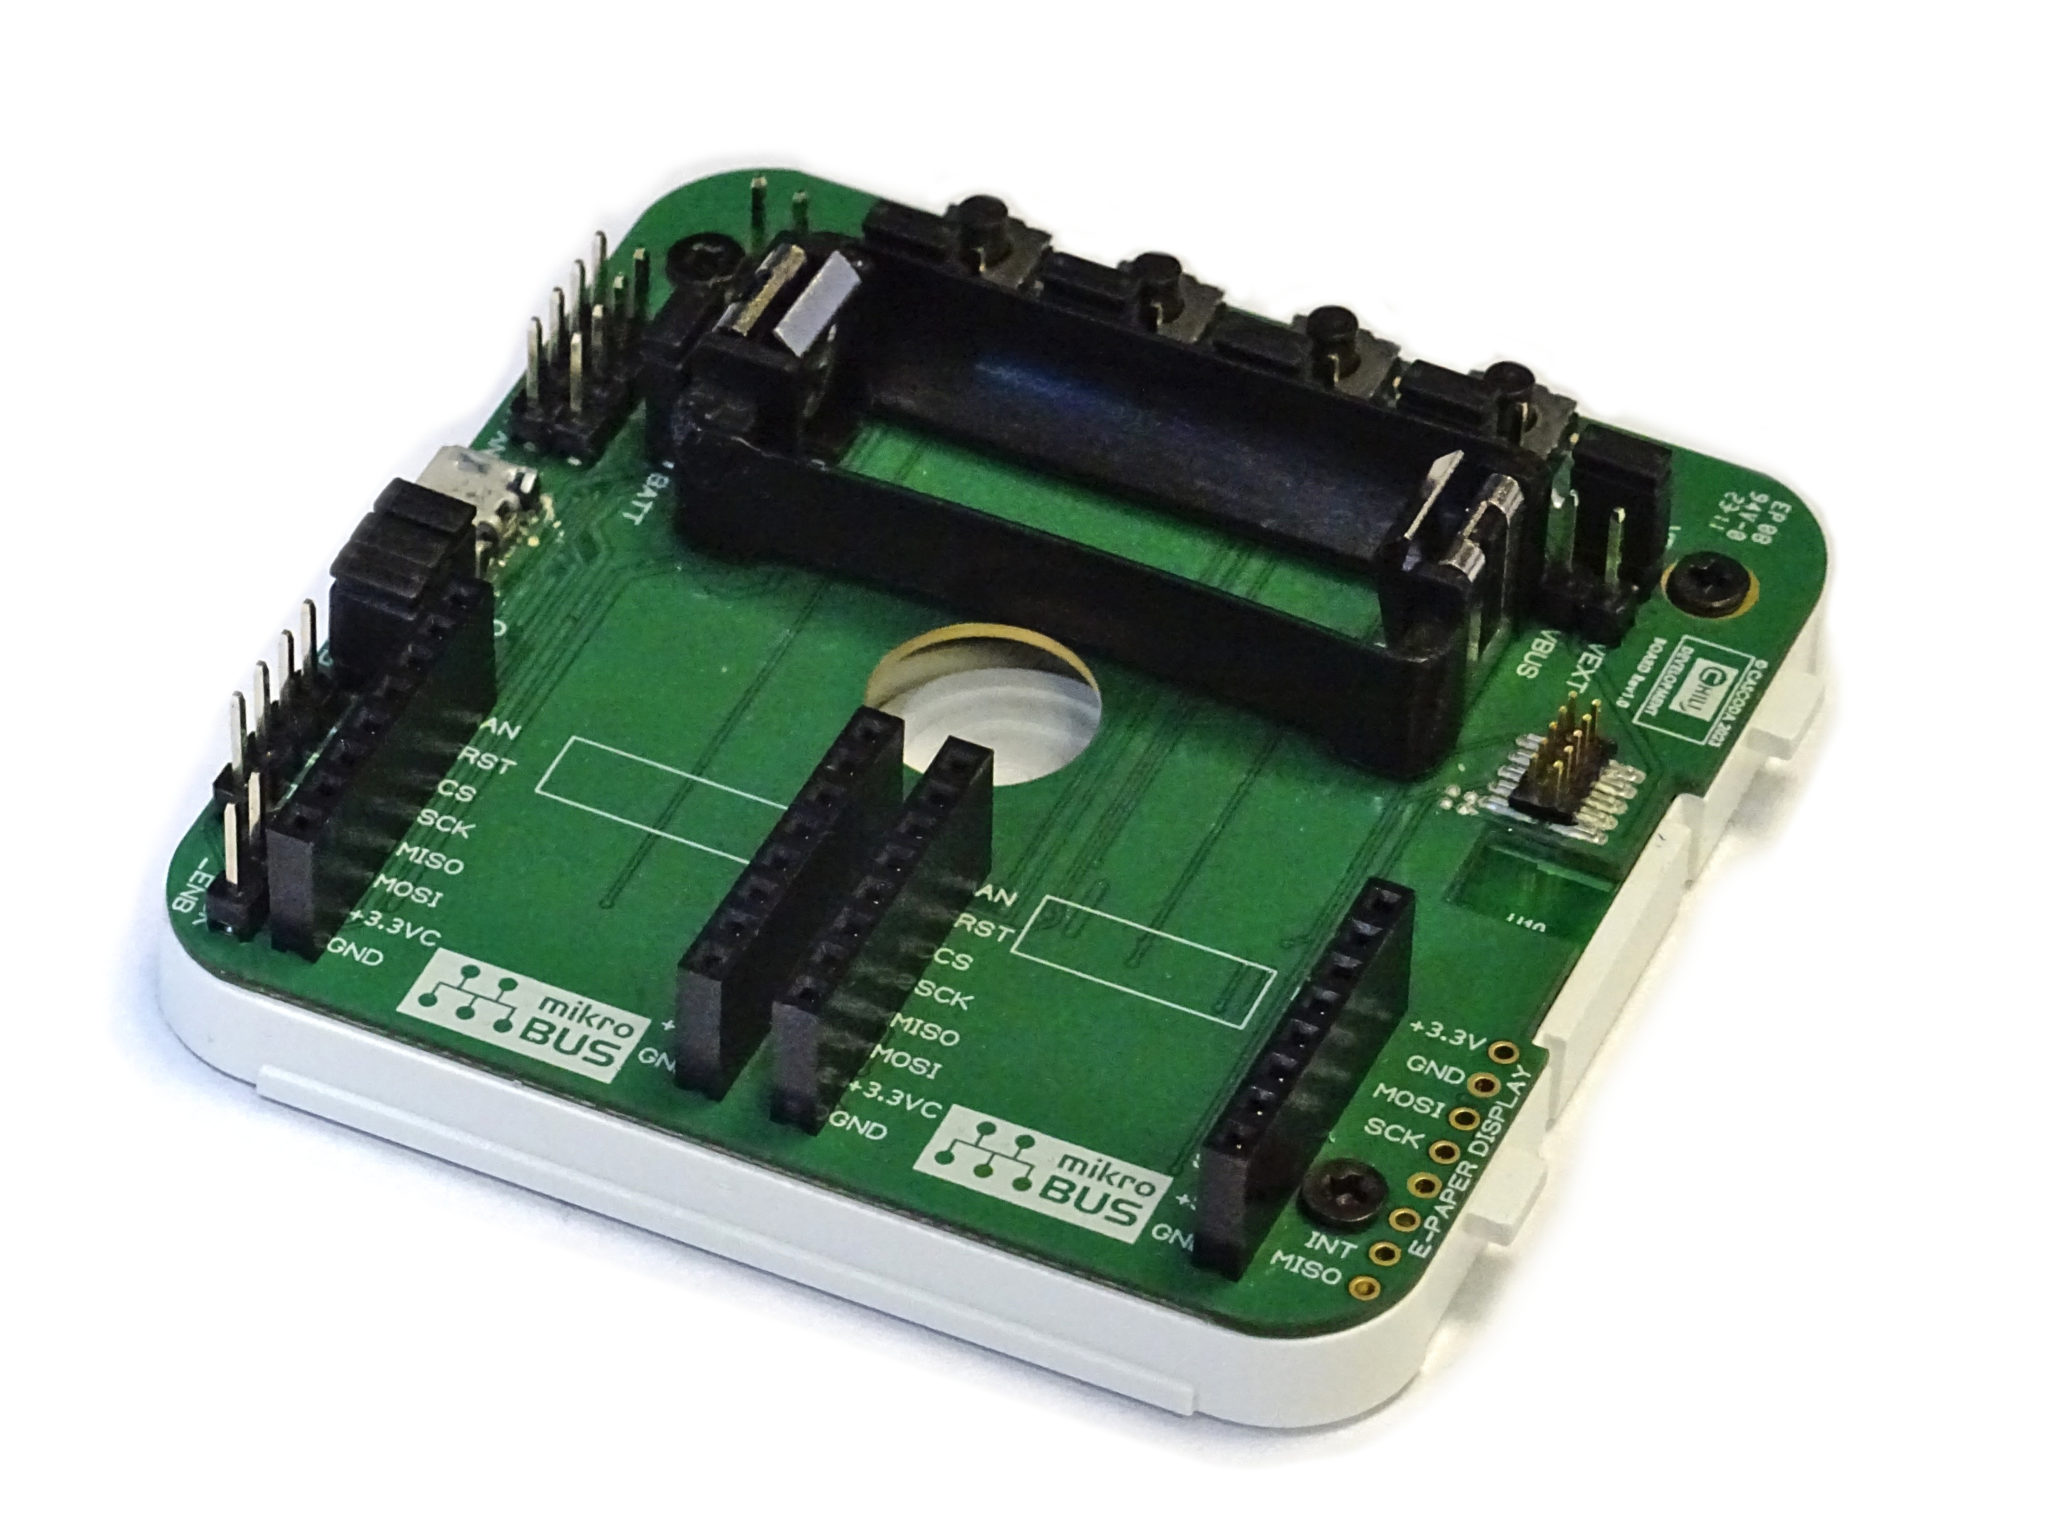
Overview
Cascoda’s Thread development board provides everything you need to develop your Thread application with the Cascoda Chili module. It features Cascoda’s SMARTRange™ technology to provide long-range Thread connectivity for whole-house coverage. In addition, Cascoda provides easy integration with Cascoda’s dashboard and our Border Router for backhaul connectivity.
The Thread development provides four programmable buttons and LEDs, and two MikroElektronika Click™ slots that allow easy plug-in of sensors and actuators. The Cascoda SDK has example applications designed specifically to demonstrate the features of the development board.
Features
- Certified Thread-based radio supporting meshed networking, with long range
- Easy integration with Cascoda’s Border Router for IPv4/IPv6 backhaul connectivity
- Ultra-low-power battery operation & battery charging
- Four programmable buttons & LEDs
- E-Paper display integration (click here for help connecting the display)
- A library of sensor & actuator plug-in boards, to develop your solution
- Automatic code generation for your chosen target combination of sensors/actuators/switches/leds
Specification
- USB or UART connectivity
- 5V or 3.3V supply options
- 3.7V Li/LiPo battery integration with charging from a 5V supply or USB
- Two Mikroelektronika Click™ slots for a huge range of plug-in sensor/actuator connectivity
- Integrated chip antenna and an externa antenna option
- Dimensions 66 x 64mm
Get started with two examples
The Cascoda SDK provides two example applications written specifically to demonstrate the features of the development board. Follow the steps below to try out either of these examples:
- Set up the environment and build system.
- Follow the devboard-specific build instructions to generate the example binaries.
- Flash the devboard with the either of the example binaries which were built in the previous steps (
devboard-blinkyordevboard-click), located in thebin/devboardfolder of the build directory.
If you are running the devboard-click application, then you need to connect one or two MikroElektronika Click boards, and do the following:
- Making sure the Chili device is connected to your Windows/Linux/MacOS machine, run the serial-adapter tool (
serial-adapter.exeon Windows). serial-adapterwill now be displaying sensor values that are being read by the MikroElectronika sensors attached.- For more information about the MikroElektronika Click boards and how to connect them, see this. For information about which MikroElektronika Click boards are available, see this.
If you are running the devboard-blinky, nothing else is needed and you can directly interact with the LEDs by pushing the buttons (the exact behaviour depends on how the application is written).
KNX IoT
The above two examples get you acquainted with the process of building and flashing applications for the development board. Now, you can try out the KNX IoT Example Application.
Running Thread applications
You can explore the Thread applications available in the Cascoda SDK, and build and flash them in exactly the same manner. Note that you will need more than one device in order to run Thread applications, because networking is involved. Here is a beginner-friendly guide to get started with Thread.
Tip: Refer to the example source code for the development board in order to to get ideas of how to adapt the Thread applications provided by the Cascoda SDK so that they make use of the devboard’s LEDs, buttons, and easy MikroElekronika Click board integration.